Ultimate Guide to Servo Motors: SG90 & MG995 with Arduino
Published on 2026-01-26
Introduction
Servo motors are the muscles of robotics. Unlike normal DC motors that spin continuously, a Servo Motor can rotate to a specific angle (usually 0 to 180 degrees). This makes them perfect for:
- Robotic Arms
- RC Plane rudders
- Automatic Door locks
- Camera gimbals
In this guide, we will learn how to control them using an Arduino Uno.
Choosing Your Motor
Which one do you need?
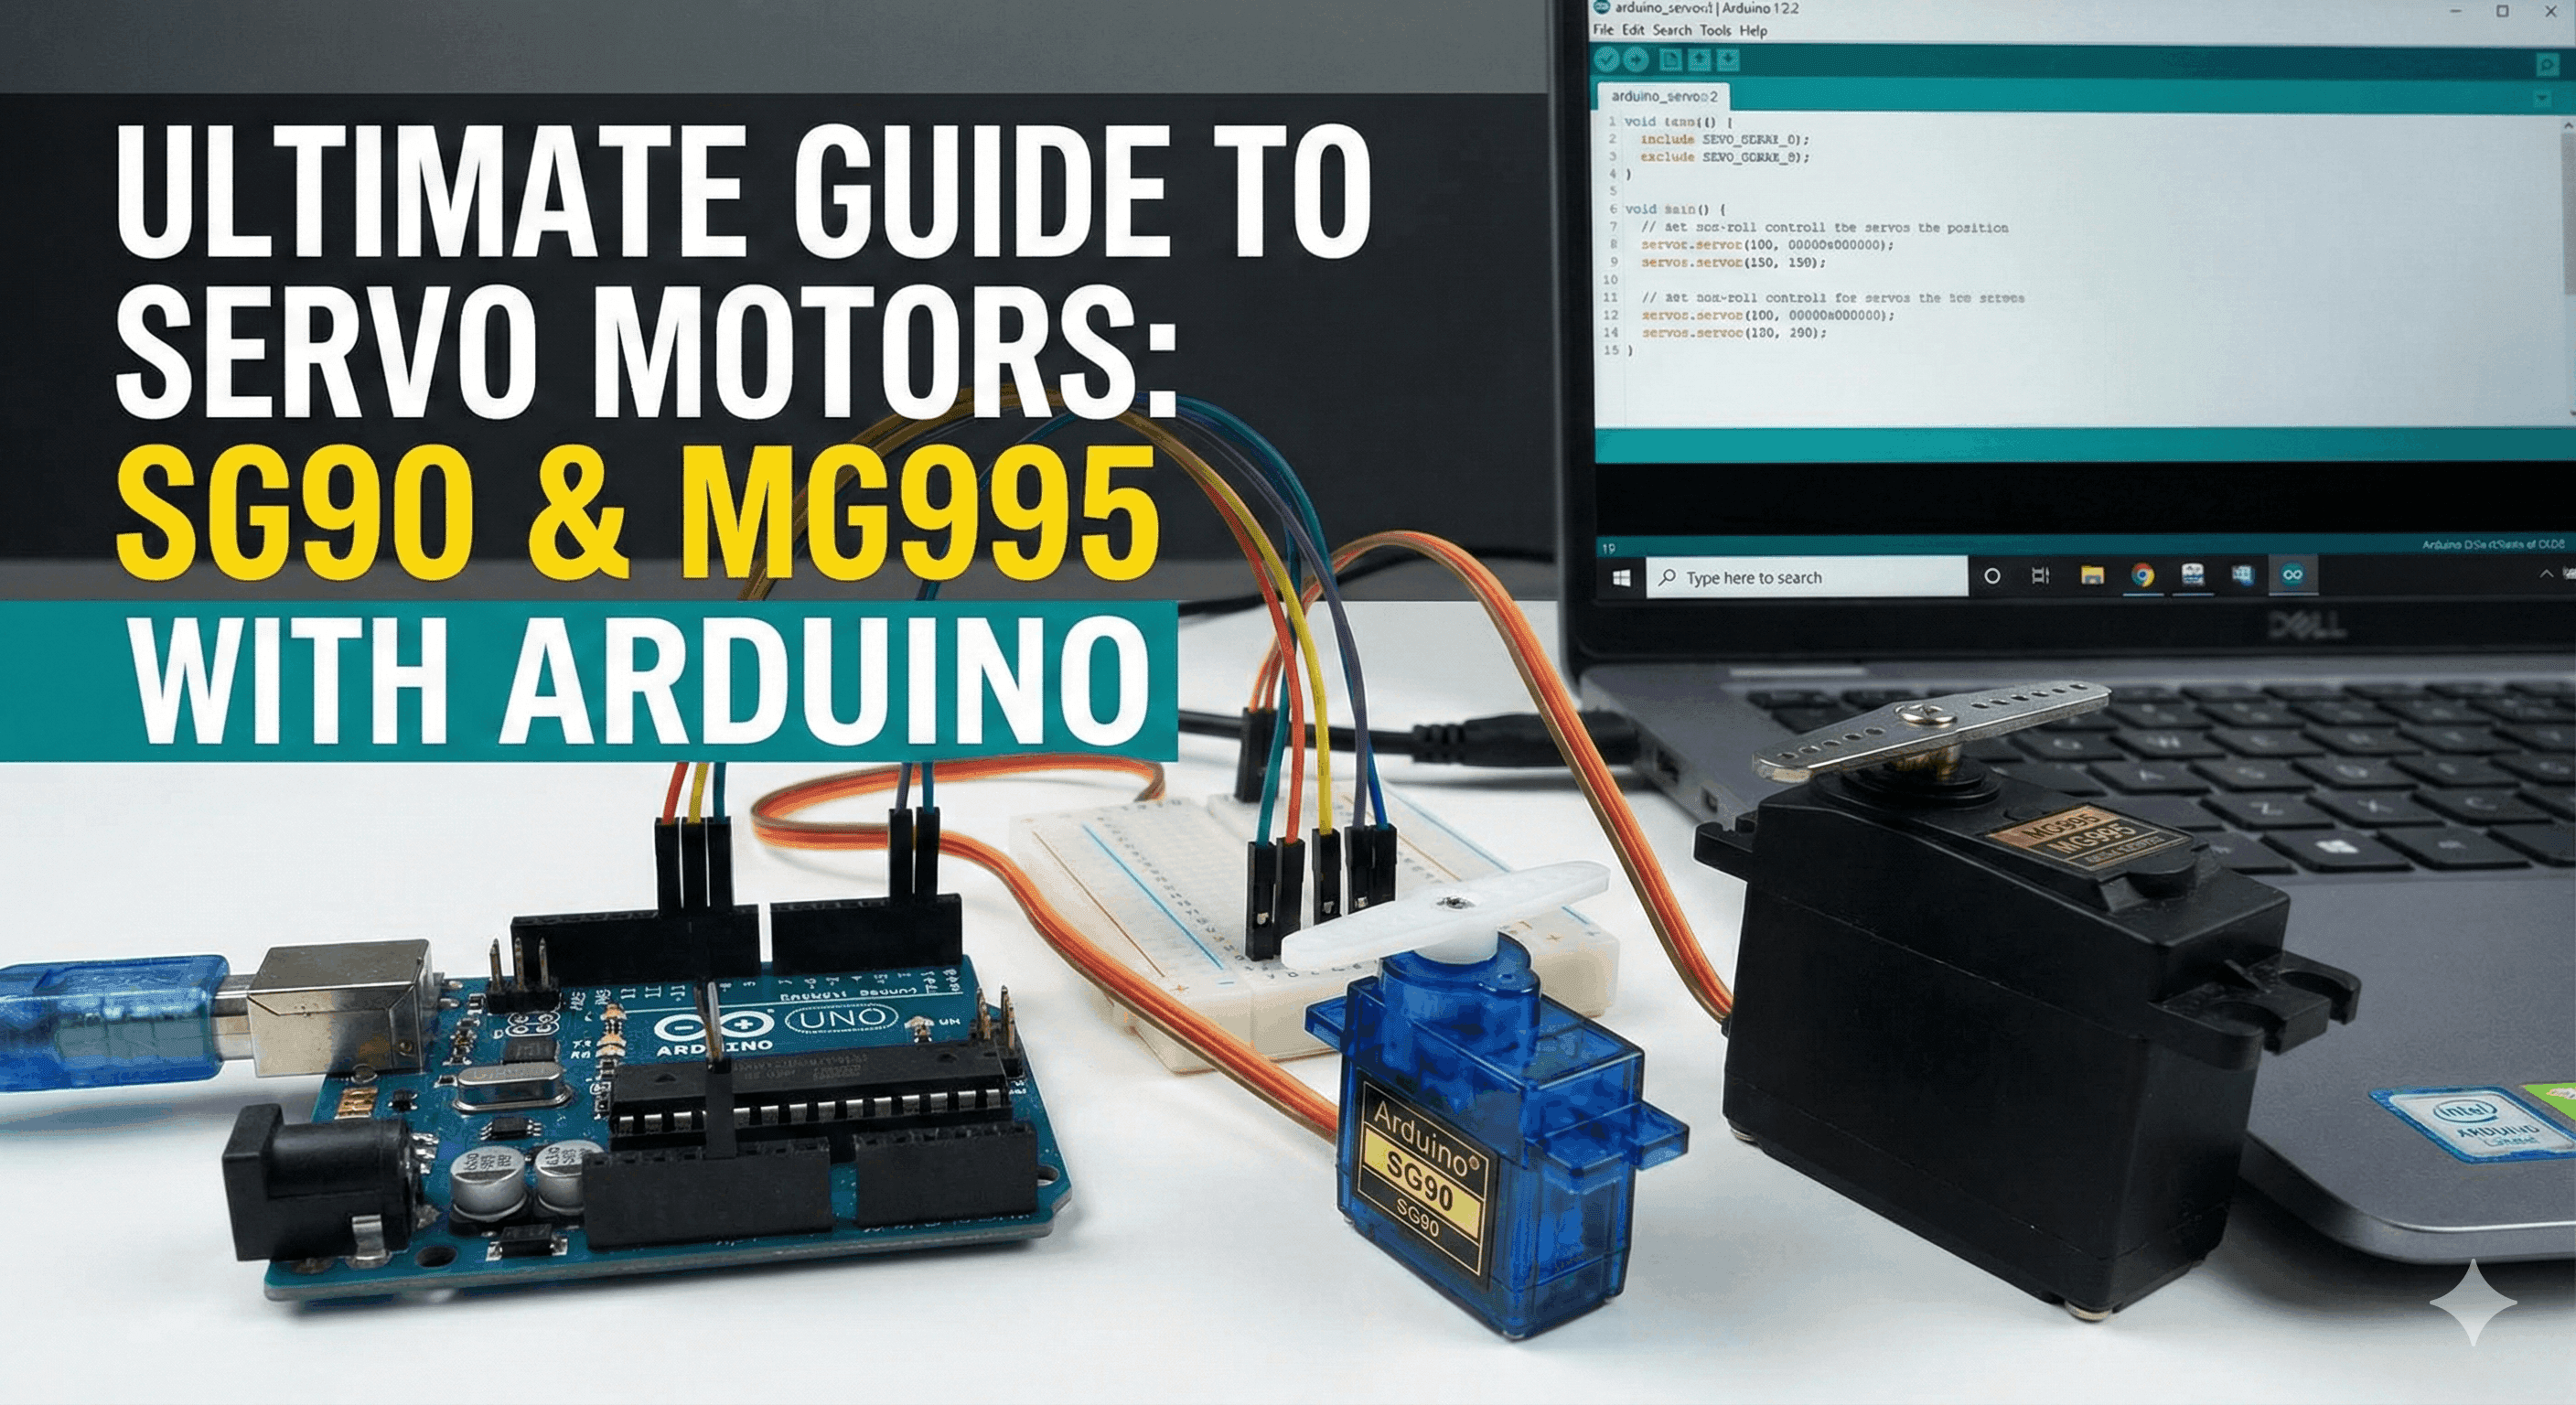
- SG90 Micro Servo (Plastic Gear): Small, cheap, and lightweight. Perfect for small sensors or light mechanisms.
- MG995 Metal Gear Servo: Heavy-duty, high torque (10kg/cm). Best for robotic arms and walking robots.
Wiring Diagram
Servos usually have 3 wires. Connecting them wrong can damage your board, so be careful!
- Brown or Black Wire: Connect to GND (Ground).
- Red Wire: Connect to 5V.
- Orange or Yellow Wire: Connect to Digital Pin 9 (PWM).
Warning for MG995 Users: The Arduino 5V pin can handle one small SG90. But if you are using the big MG995 or multiple servos, you MUST use an external battery (like a Lipo Battery) to power the motors. Just remember to connect the battery GND to Arduino GND.
The Code
Arduino makes controlling servos incredibly easy with the <Servo.h> library. Copy this code into your Arduino IDE:
#include <Servo.h>

Servo myServo;  // Create a servo object to control the motor

void setup() {
  myServo.attach(9);  // Attaches the servo on Pin 9 to the servo object
}

void loop() {
  // Sweep from 0 to 180 degrees
  for (int pos = 0; pos <= 180; pos += 1) {
    myServo.write(pos);              // Tell servo to go to position in variable 'pos'
    delay(15);                       // Wait 15ms for the servo to reach the position
  }

  // Sweep back from 180 to 0 degrees
  for (int pos = 180; pos >= 0; pos -= 1) {
    myServo.write(pos);
    delay(15);
  }
}
